Assign dedicated IP address to user in DirectAdmin is a crucial task for administrators managing web hosting services. A dedicated IP address ensures that a user’s website has a unique identifier on the internet, which can enhance security, improve email deliverability, and is often a prerequisite for certain SSL certificates. This process involves configuring DirectAdmin to recognize the new IP address, assigning it to the specific user, and ensuring that DNS settings are appropriately updated. By providing users with dedicated IP addresses, administrators can offer a more reliable and customizable hosting environment, ultimately leading to better performance and customer satisfaction.
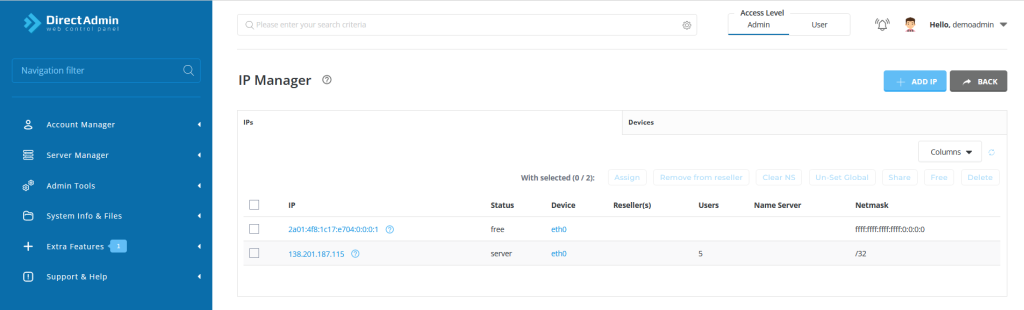
Table of Contents
How to Assign a Dedicated IP in DirectAdmin
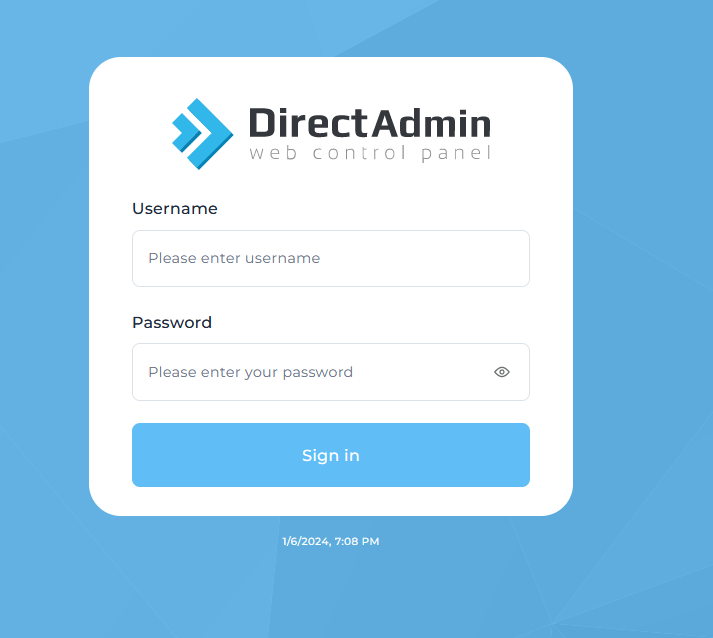
Step 1: Log in to DirectAdmin
- Open your web browser and go to your DirectAdmin login page.
- Enter your admin credentials to log in.
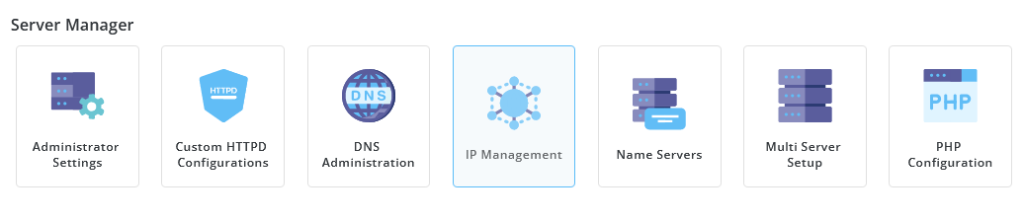
Step 2: Access IP Management
- Once logged in, navigate to the “IP Management” section. This can be found under the “Admin Tools” menu.
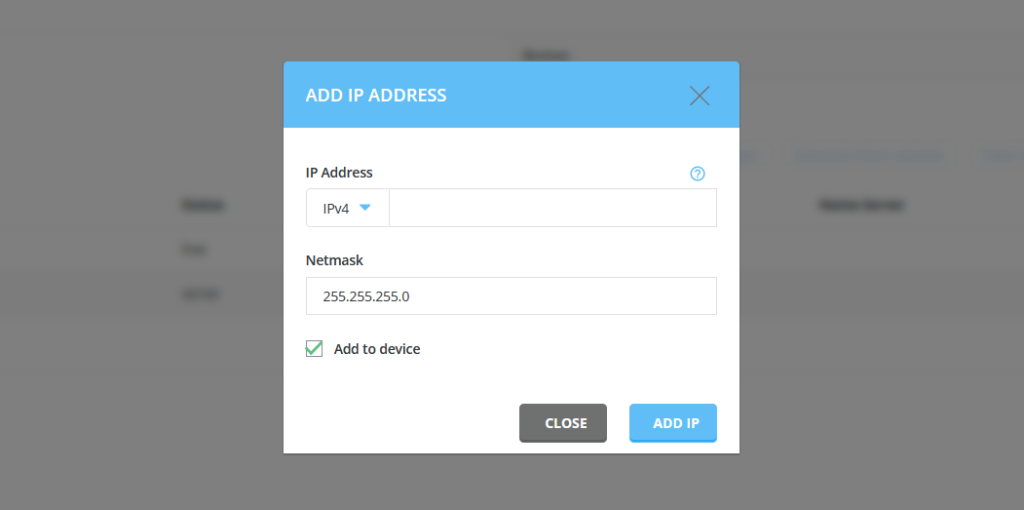
Step 3: Add the Dedicated IP Address
- In the “IP Management” section, click on “Add IP”.
- Enter the new dedicated IP address and subnet mask. Ensure that the IP address is not already in use.
- Assign the IP address to the appropriate network interface.
- Click “Save”.
Step 4: Assign Dedicated IP address to user in DirectAdmin
- Go back to the main DirectAdmin interface.
- Navigate to the “User Level” section by selecting the user you want to assign the IP address to.
- Click on the “User” link to view the user’s account details.
- Click on the “Modify User” link.
- In the “IP” dropdown menu, select the dedicated IP address you added earlier.
- Click “Save” or “Modify” to apply the changes.

Step 5: Update DNS Settings (if necessary)
- After assign Dedicated IP address to user in DirectAdmin, Ensure that the DNS settings for the domain(s) associated with the user are updated to reflect the new dedicated IP address.
- Update the DNS records (A records) for the domain(s) to point to the new IP address.
Step 6: Verify the Configuration
- After assign Dedicated IP address to user in DirectAdmin, verify that the user’s websites are accessible using the new dedicated IP address.
- Check that all services (e.g., web server, email) are functioning correctly with the new IP address.
Additional Notes
- Ensure Compatibility: Make sure that the dedicated IP address is properly routed and reachable from the internet.
- SSL Certificates: If the user requires SSL, remember to update or reissue SSL certificates for the domain to match the new dedicated IP address.
By following these steps, you should be able to successfully assign Dedicated IP address to user in DirectAdmin.